# Webhooks
# Call Result Webhook
The Call Result Webhook sends the results of each call to a URL of your choosing.
Note: You will need to have full administrative permissions to enable this feature.
# Enable Webhook Globally

From the 'Settings' menu, click 'Preferences'.
From the preferences menu, click 'WebHook'.
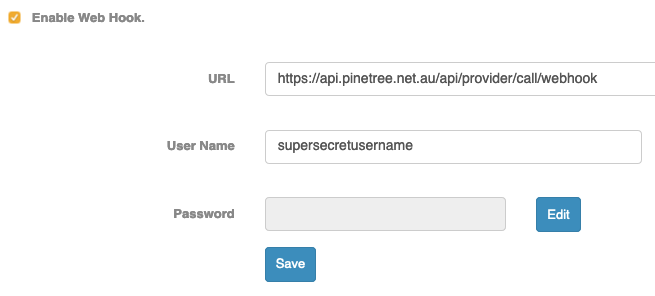
Click 'Enable Web Hook' to enable the feature and enter the following information:
- URL: The URL of your server. (Cloud Dial will send the results to this address).
- User Name: The Username we will send with the webhook POST.
- Password: The Password we will send with the webhook POST.
Cloud Dial will send a base64 encoded version of the {username/password}.
Sample Code
POST https://yourwebhookurl/
Content-type: application/x-www-form-urlencoded
authorization:base64(username/password)

{
 "LogDateTime": "2019-06-19T16:11:07",
 "CallStart":"2019-06-20 01:01:00",
 "CallEnd":"2019-06-20 01:03:00",
 "PhoneCalled": "0731051xxx",
 "Reference": "123",
 "WrapUpByName": "agent@pinetree.net.au",
 "WrapUpReasonName": "Payment Taken"
}
Click 'Save' when finished.
Now that the webhook has been enabled, you can enable the feature on your campaigns.
# Your Application Preparation
You will need to ensure that your application is ready to receive the WebHook.
The webhook will send the following data:
CampaignName: Name of the campaign.
LogDateTime: Timestamp of the call.
PhoneCalled: Number called.
Reference: Your reference number.
Result: Call result.
ResultNotes: The agents notes.
WrapUpByName: The Agents who took the call.
WrapUpReasonName: The wrapup reason.
# Creating a Webhook-Enabled Campaign
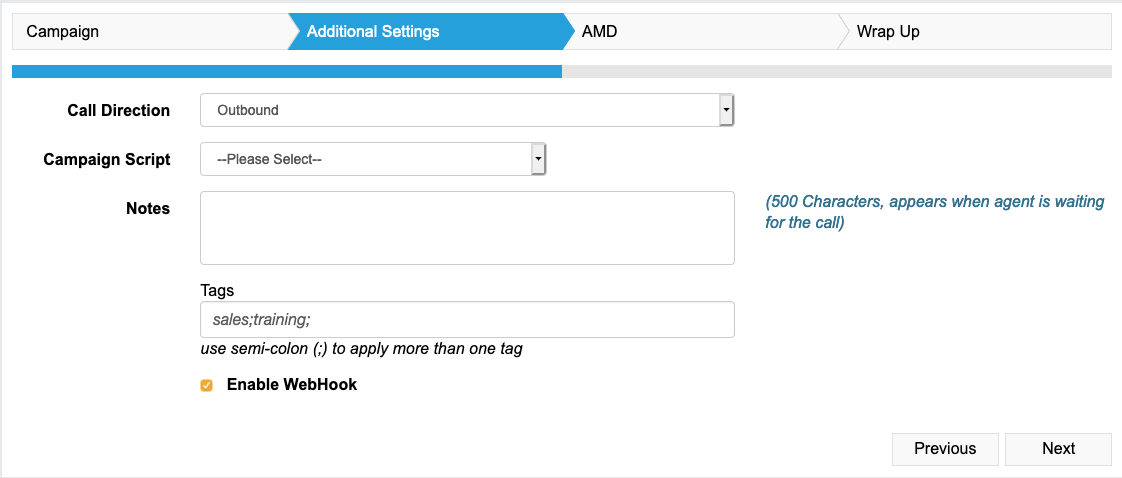
When you create the campaign as per normal, you will now see the option to 'Enable WebHook' on the 'Additional Settings' tab.
Once the Cloud Dial campaign is running you will see the following icon next to the campaign. 

On the 'Campaign Management' screen you will now be able to see the status of your new campaign.