# Campaign Type: Blaster
A 'Blaster Campaign' is a fully automated outbound campaign with no user agents involved.
This campaign will make outbound calls and play an automated message.
# Call Flow
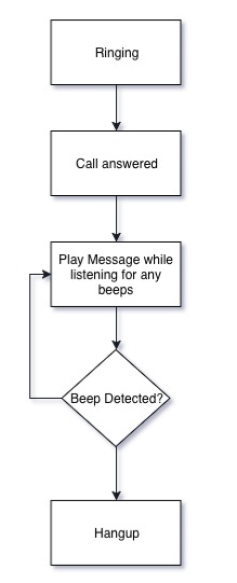
Call flow
1. Outbound call is placed.
2. Call is answered.
3. Automated Message is played (Cloud Dial beep detection continues to run).
4. If at any time a beep is detected, Cloud Dial will begin to play the automated message from the start.
5. Once the message has been played to completion, Cloud Dial will hangup.
# Create a Blaster Campaign
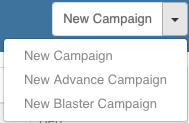
From the 'New Campaign' menu, select 'New Blaster Campaign'.
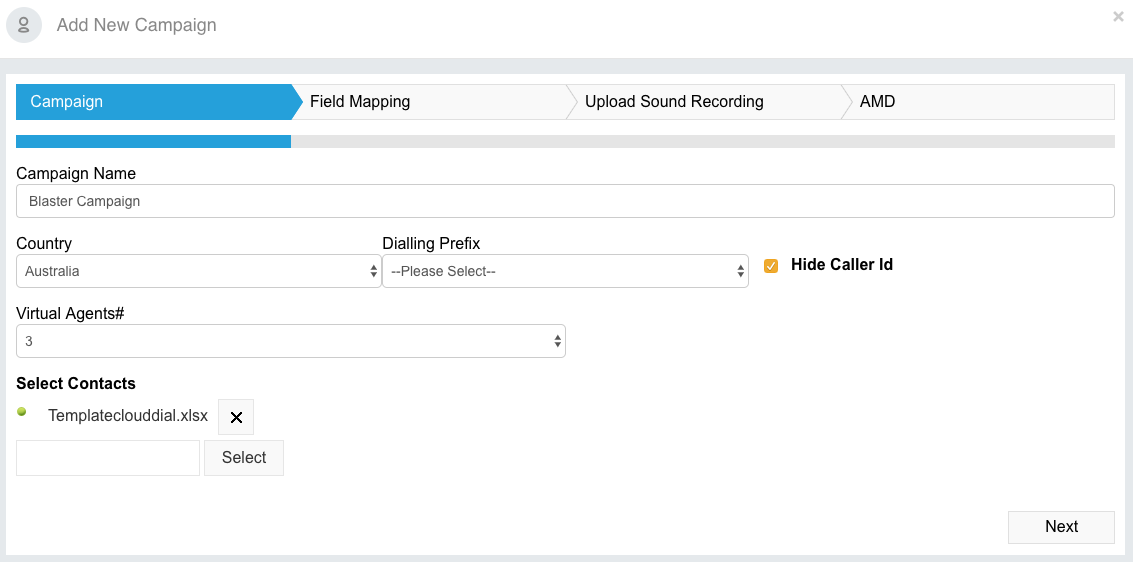
Add in the following information:
Campaign Name: This is for your reference. (Your Agents will see this when they join campaigns).
Country: Choose your country.
Dialling Prefix: This will be your caller ID for your outbound calls.
Redial Attempts: This determines how many times Cloud Dial will dial the number before giving up.
Virtual Agents#: This is the number of outbound calls you want to make simultaneously.
Select Contacts: Use the 'Select' button to upload your Cloud Dial campaign data.
Click 'Next' to move onto the next step.
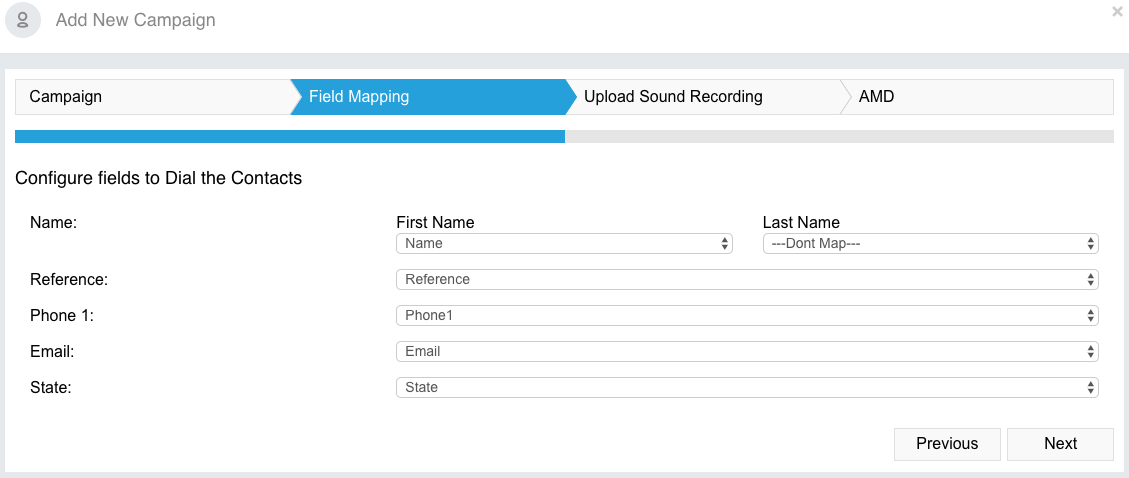
Use the 'Field Mapping' page to map your custom fields in your uploaded contacts into Cloud Dial.
Click 'Next' to move onto the next step.
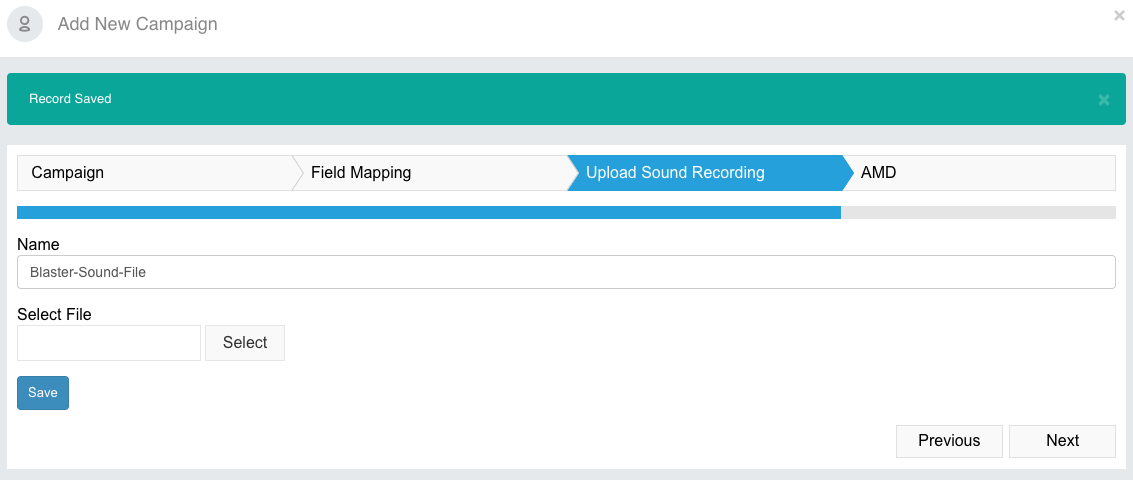
Here you will upload your sound file that will be played on all calls.
This file must be .wav format.
Click 'Select' to locate and upload your file, and click 'Save' when complete.
Click 'Next' to move onto the next step.
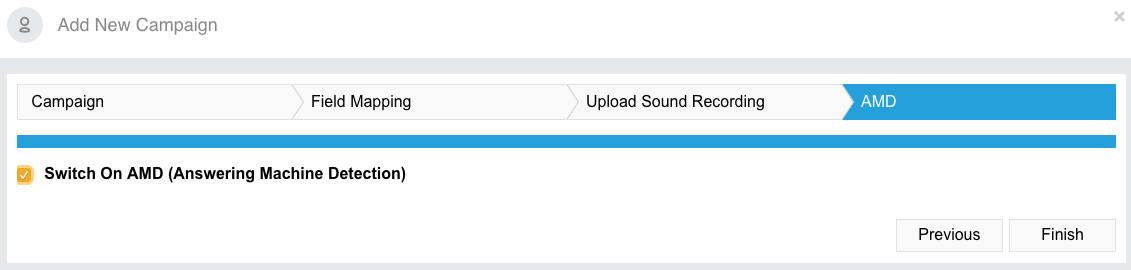
Enable AMD at your discretion and click 'Finish' when you are done.