# Custom Dialling Order
Based on customer feedback, we have added the ability to choose the order in which the numbers in your campaigns are dialled.
To start you will need to add a column to your campaign list in the numerical order you wish to dial the numbers.
Once you have your contact list created, you can create your new campaign.
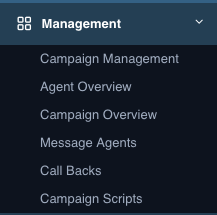
From the 'Management' menu on the left hand side, click 'Campaign Management'.
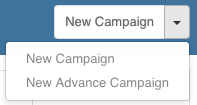
In the top right hand corner click the arrow next to the 'New Campaign' button and choose 'New Advanced Campaign'.
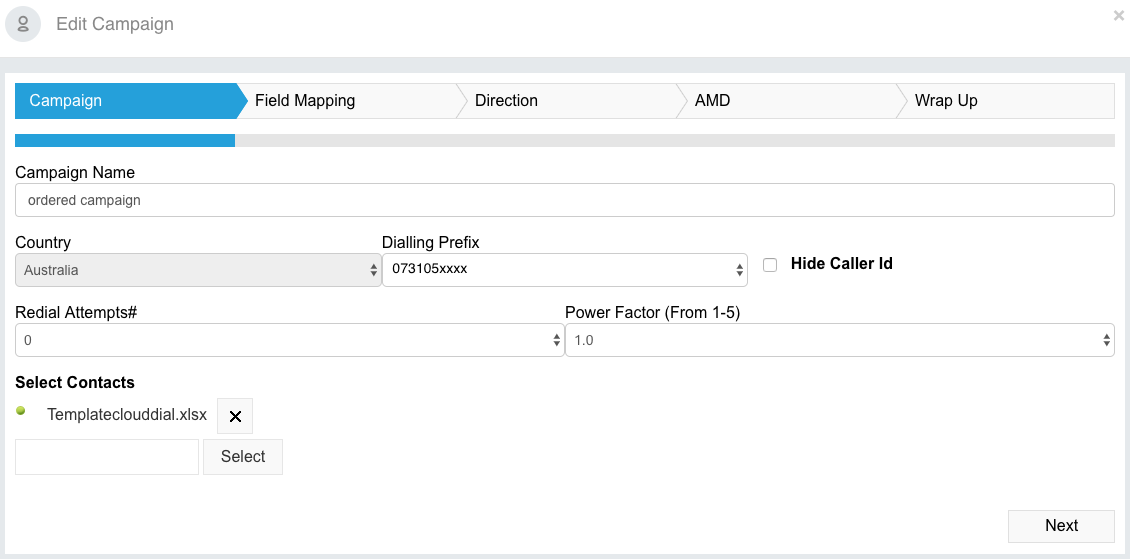
On this screen you must enter the following information:
Campaign Name: This is for your reference. (Your Agents will see this when they join campaigns).
Country: Choose your country.
Dialling Prefix: This will be your caller ID for your outbound calls.
Redial Attempts: This determines how many times Cloud Dial will dial the number before giving up.
Power Factor: The number of simultaneous calls dialled in relation as a ratio to the number of active agents on your campaign.
Select Contacts: Use the 'Select' button to upload your Cloud Dial campaign data.
Click 'Next' when complete.
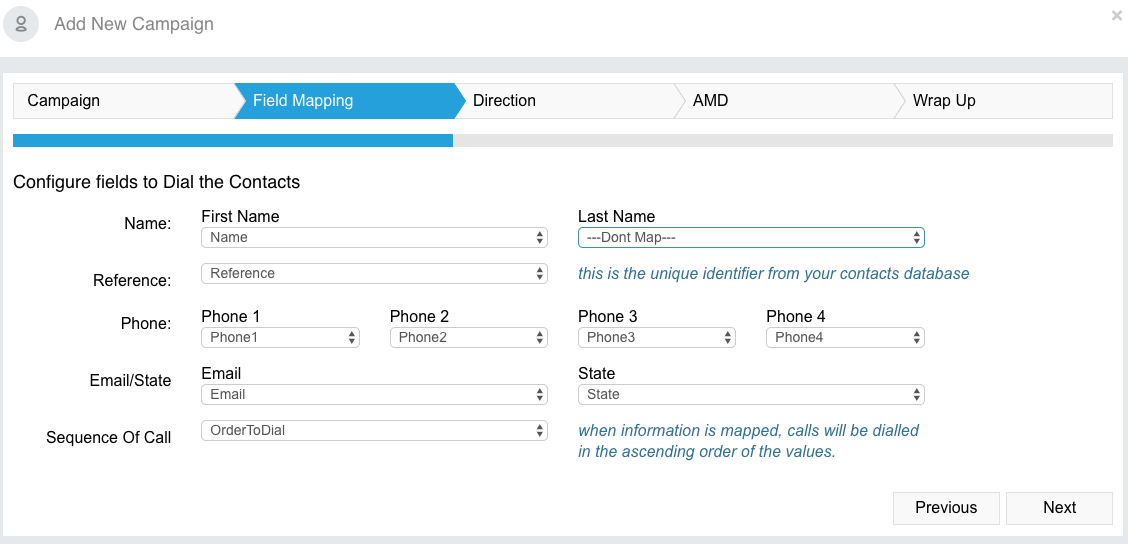
The 'Field Mapping' tab allows you to map custom fields in your Cloud Dial campaign data into the system.
Match the columns in your uploaded data to the references shown.
If you have a specific order you wish to dial the numbers, select that column for the 'Sequence of Call' field.
Click 'Next' when complete.
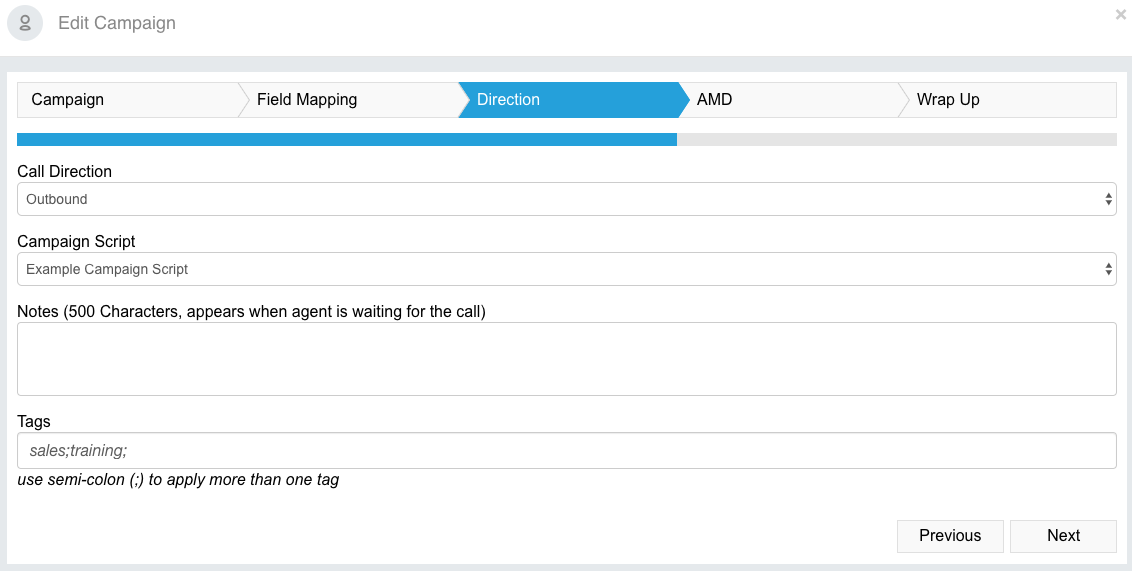
From the 'Call Direction' menu, you can choose between;
Outbound: Cloud Dial will handle outbound calls only for this campaign.
Inbound: Cloud Dial will handle inbound calls only for this campaign.
Inbound & Outbound: Cloud Dial will handle both inbound & outbound calls for this campaign.
From the 'Campaign Script' menu, you can choose from all of your pre-created campaign scripts. These will show for the Agent while on each phone call.
You can also enter in additional notes that will appear on your agents screen while they are waiting for a call.
In the 'Tags' section you can assign relevant tags to the campaign. This will be used for tag based routing when enabled.
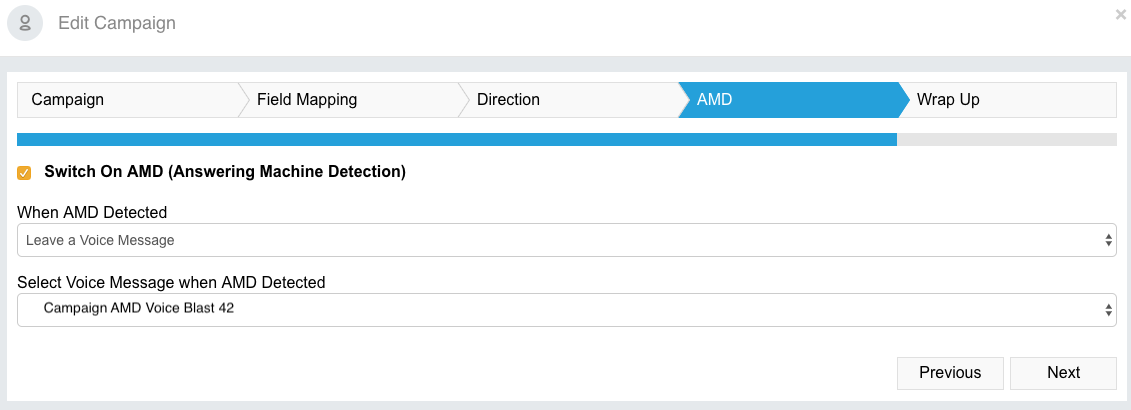
Answering Machine Detection (AMD) allows Cloud Dial to first make sure there is a human answering the phone instead of a voicemail system before bridging the call to an Agent. This can save your Agents valuable time chasing leads instead of leaving voicemail messages.
To enable, check the option to 'Switch on AMD'.
When AMD is detected Cloud Dial can either hangup, or leave a pre-recorded voicemail message.
If you have chosen to leave a voicemail message, you will need to select your sound file in the next section before pressing 'Next'.
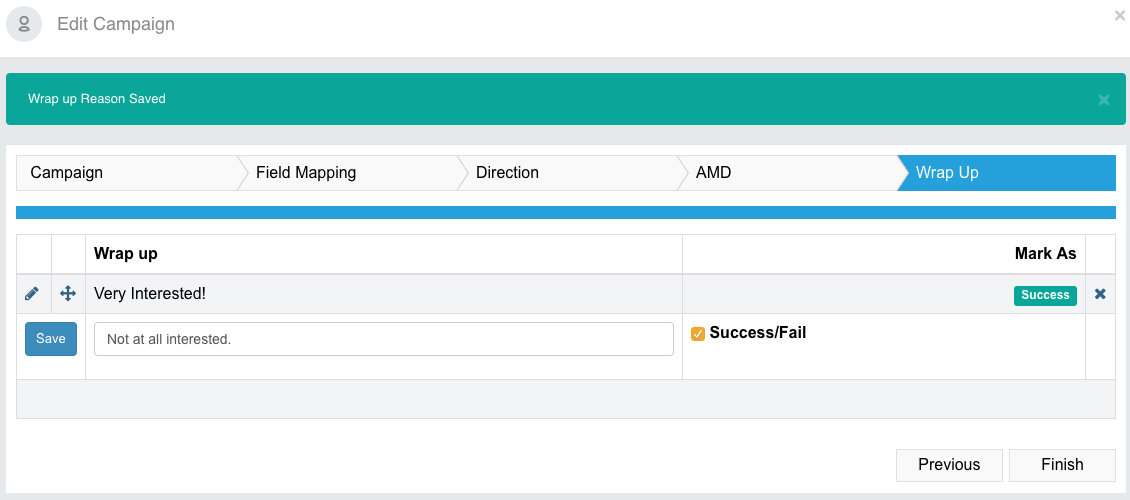
Here you can add your 'Wrapup Reasons'.These will be used by the Agents at the end of their calls to measure their KPIs.
When you are happy with the configuration of the campaign, click 'Finish'.